Spring is knocking at our door and it is time to prepare your raised garden beds for spring planting. Most gardeners have eagerly been awaiting this moment. If you happen to be a newbie gardener reading today, you’re in the right place. Check out the post which is the first half of this issue for additional information.
You can start preparing your raised beds at any point that you like. The absolute best time is during the close out of the previous season, but if you didn’t think that far ahead, no worries! Just do what you can by weeding, aerating, adding a top dressing of compost, and adding a layer of mulch (if needed), which are all dived into in the last blog post. Any amount of preparation is better than none!
Here are a few more tips:
Make Necessary Repairs
Examine all raised beds for damage. Winter weather can cause wear and tear on your beds. Rain, snow, and ice can cause beds to become bowed out or fungus may start growing. So it is a must to inspect each raised bed for needed repairs.
The soil in raised beds gets wet and heavy over the winter, and the added weight can exert pressure on the corners of the beds and can bow the center of long spans outward. Now is the time to fix anything that needs attention, before you start sowing seeds or transplanting seedlings, since any repair will disturb the soil.
Raised beds which have corners screwed or nailed together can sometimes have a corner work loose. If this happens, you’ll usually need to dig back a few inches of the soil to be able to get the corners together.
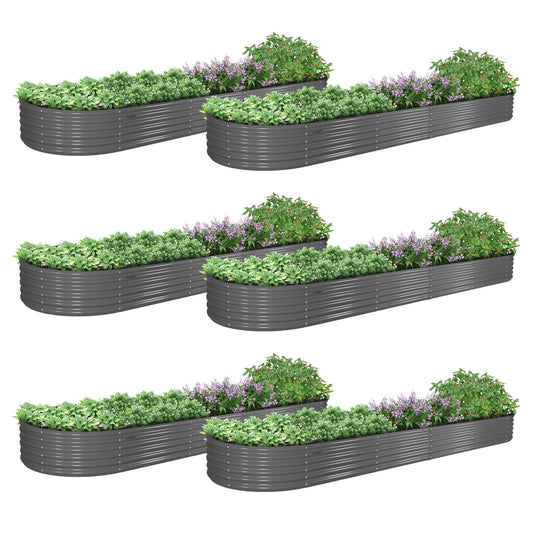
Most raised garden beds which are sold commercially have corner constructions which won’t work loose. The manufacturers use designs such as mortise-tenon, half-lap with through pin, interlocking hardware, or winged brackets to ensure the corners hold together.
If the sides of your raised beds are bowing outwards in the center of long spans, this can be corrected in two ways. You can set a stake on the inside of the bed and screw the bowed side into the stake. This may last a season or two. A better method is to pull the bowed side in and attach it to the opposing side of the bed. Use ½” aluminum flat stock and drill a hole in each end for screws. Attach this bar to the top edge of the lower boards (if the bed is two boards high), or bend the stock to a 90 degree angle and screw it to the inside of the boards. Manufactured raised beds usually are designed with cross-supports or center pins so bowing does not occur.

Set Stakes or Poles and Trellises for Tall Crops
If you plan to grow tomatoes, peas, pole beans or other plants which will need support, now is the time to set these supports in place. If you wait until your plants are in, driving the stakes into the soil may disturb the young spreading roots of your vegetables.
Take tomatoes for instance, we recommend building a simple structure overhead and cover it with 6 mil clear plastic sheeting, or corrugated clear fiberglass panels. The purpose of this is to keep the rain off the tomato leaves, which will prevent tomato blight. During the growing season you will need to hand water your tomatoes, or use a soaker hose, taking care to avoid wetting the foliage. Once the tomatoes are established, adding a generous layer of mulch will reduce the amount of watering needed, and will also protect the plants during dry spells.
You could screw the upright supports for the tomato shelter directly into the inside face of the raised bed. This is simple to put together, and easy to disassemble in winter when we want the beds exposed to winter rains. Leaving the shelter on through the winter results in the soil being over-dry, which drives away the worms and other beneficial organisms which need some moisture in the soil.
Remove Anything That Doesn’t Belong
Check your beds for anything that shouldn’t be there. This includes dead vegetation, rocks, weeds, sticks, etc. This is the time of year that those irritating spring weeds are trying to germinate and invade.
Really get your hands dirty and feel through the soil for rocks and sticks. If you have toddlers like I do, you’ll definitely find some foreign objects in your beds.
Some gardeners will advise laying carpet or some similar ‘blanket’ barrier on the bottom of your bed as a barrier to invasive roots. I think this is a mistake because it slows drainage and limits root growth for some vegetables. Instead of blanketing the bottom of your raised bed, you can block invasive roots from the outside of the bed. A narrow trench can be dug on the side of the raised bed which lies in the path of invasive roots. We dug the narrowest trench we could, which was about 8” wide, and dug down to clay. The depth varied from 3’ – 4’. Then we slipped down, on edge, large sheets of HDPE recycled plastic. (These sheets were used under feed bags on pallets.) Corp-last sheeting is another option. Some gardeners use sheets of metal roofing for this purpose, but this will rust over time. Once the trench is filled back in, trim off any excess at soil level. This will now serve as a permanent root barrier for your beds.